The Events section of your dashboard is where you’ll be showcasing & promoting your brand. To view or add events on your website, click on the events tab, located on the left-hand side of your dashboard.
Begin by selecting the Content Module on the left hand side of your screen.

From the Content Module Select the Blog/Event/Promo Tab.

This tab opens a window which displays all of your existing blogs, events, and promos. Once events are added they will appear here and you’ll be able to view them. In the upper right hand corner of this window, you will have the option to filter through your existing posts and events, or add a new post or event. You also have the option to export a list of your existing posts.

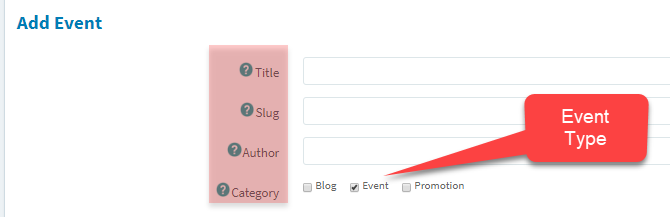
To add an event, click on “Add New.” After selecting, a page will open that will allow you to create the event which looks like this:

Begin adding the details of your event in the labeled sections:

To add images to your event, click on the “Select File” button in the featured image section:

The File manager window will then open, select an image from the list of assets that you’ve uploaded to add to your event.

Do not forget to add Alt text to your images to ensure that your web content is fully accessible!

Add a description of what your event is about: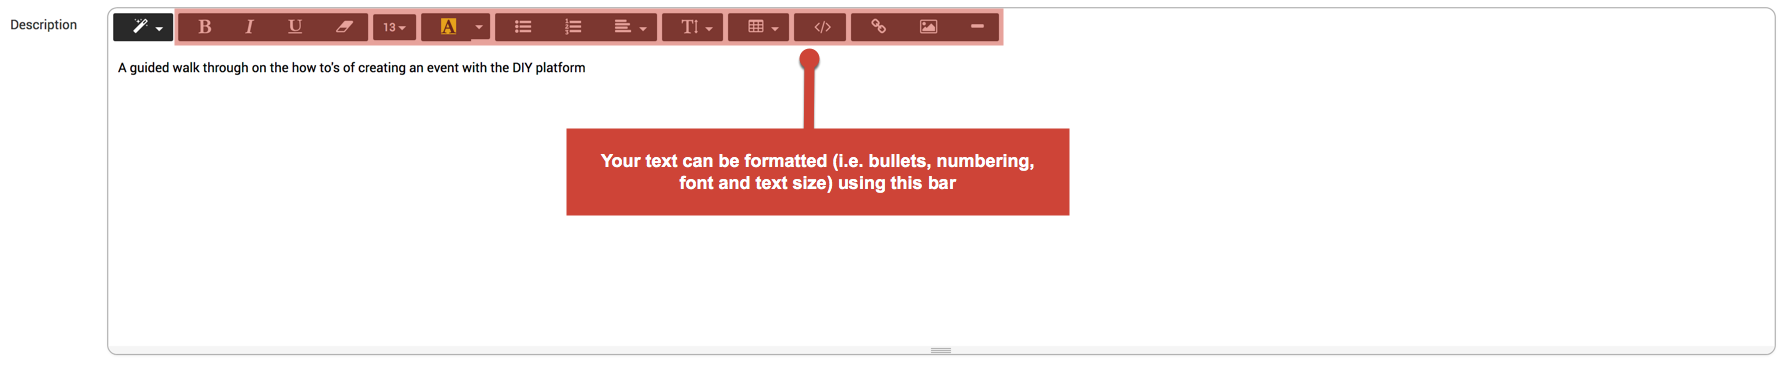
Add in-depth content, describing what will take place at your event:

After you’ve added all your information, click the “submit” button in the bottom right-hand corner of the screen. We recommend you preview your events or posts before publishing.
Voila, you’ve created an event!